Quality Assurance

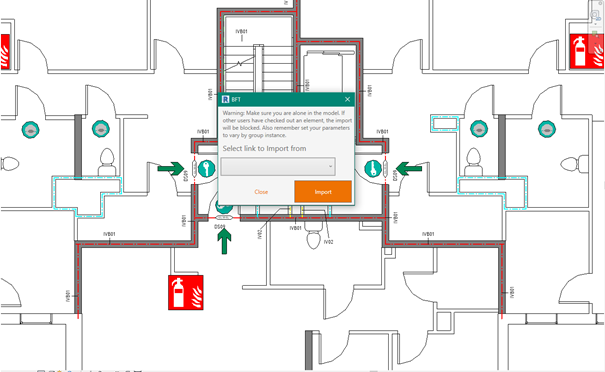
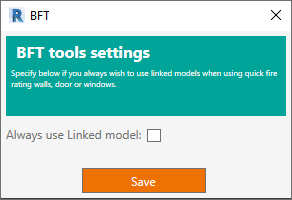
In the Linked model, which all the engineering requirements are linked to, use the Import from link tool to load all the parameter values from Import mapping and check that there is no warning.
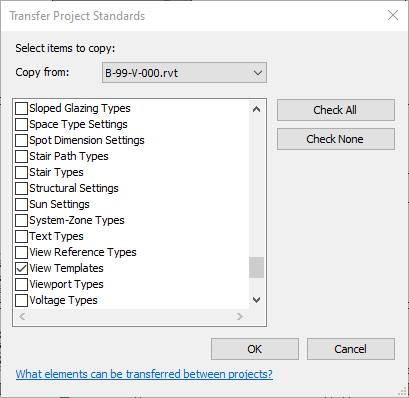
Use transfer project standard to copy view templates from the engineering model to the Linked model.
Manage → Transfer project standard
Note: Make sure it is the engineering model in the drop-down on top.
Choose Check None and then check only View Templates.
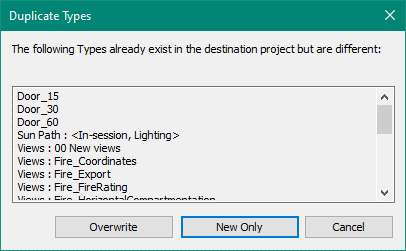
If this dialogue show, choose New Only
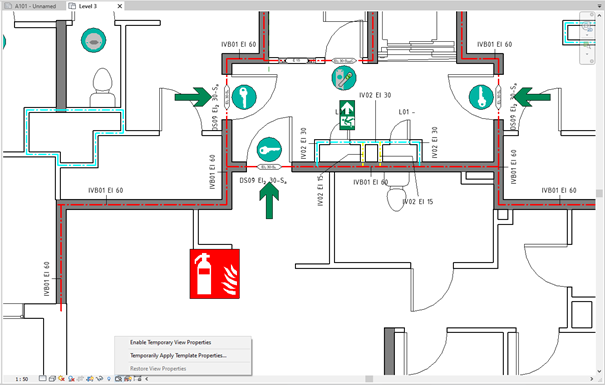
Go to a floor view in the linked model and enable Temporary view properties.
It’s found on the in the bottom of each view.
Choose Temporary Apply Template Properties …
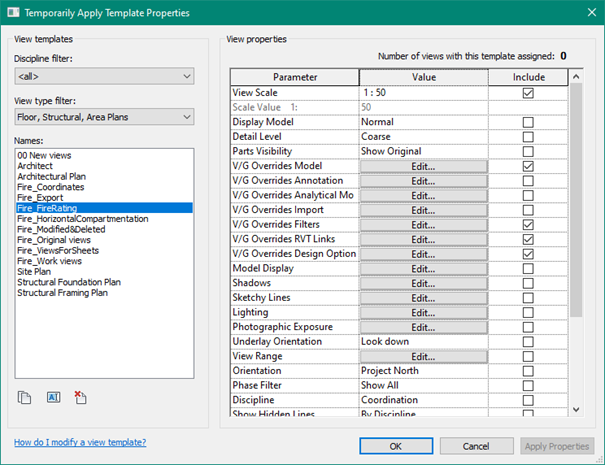
Select Fire_FireRating.
This help to show all walls, doors, windows and curtain walls that uses FireReq parameters for Fire rating.

This help to show all walls, doors, windows and curtain walls that uses FireReq parameters for Fire rating.
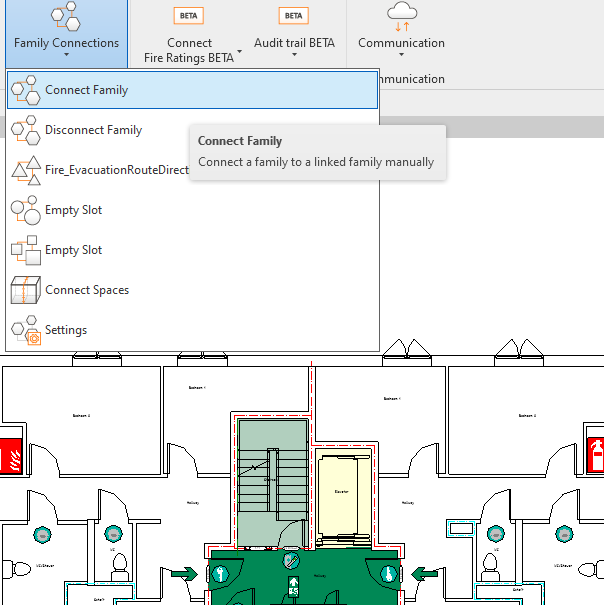
If a component does not have a colour under the requirement symbol. In the Engineering model, select connect family and “re-connect” the symbol to the correct object.
Best workflow is to finish re-connecting a floor plan at the time.
When finished, save the engineer model.
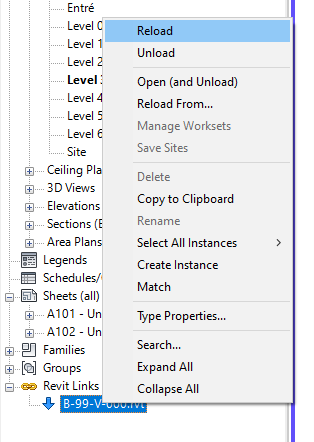
In the Linked model, reload the Engineer model and import all data again. Repeat until the entire model has been coloured.
When that is finished send the model to the recipient.