Horizontal Fire Compartment

1. Start by check the Thickness of the structural floor in the project, use tab key to cycle through all components untill the floor is selected. Read Thickness parameters
otherwise use 300mm thick floors as a guideline.
2. Open the floor plan view, turn off all categories except Floors & Generic Models. If the BFT template is used, use the template “Fire_HorisontalCompartmentation”. this will hide everything except Fire Protection (2022-), Generic Model (2020-2021) and floors.
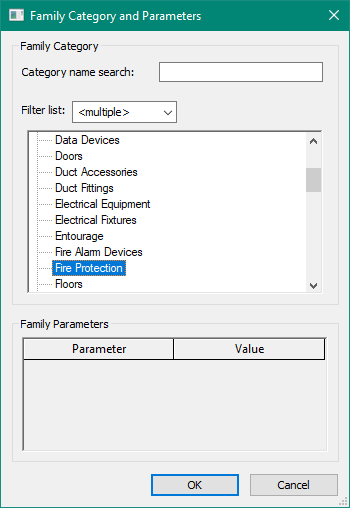
3. Create a model-in-place
(Architecture → Component → Model-In-Place),
choose category Generic Model (2020-2021) or Fire Protection (2022-).
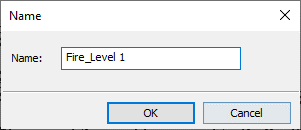
Name the new family for instance with Fire_Level 1.
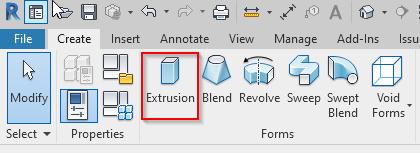
4. Create an Extrusion
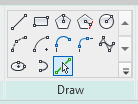
5. Choose Extrusion tool and select pick lines in Draw panel.
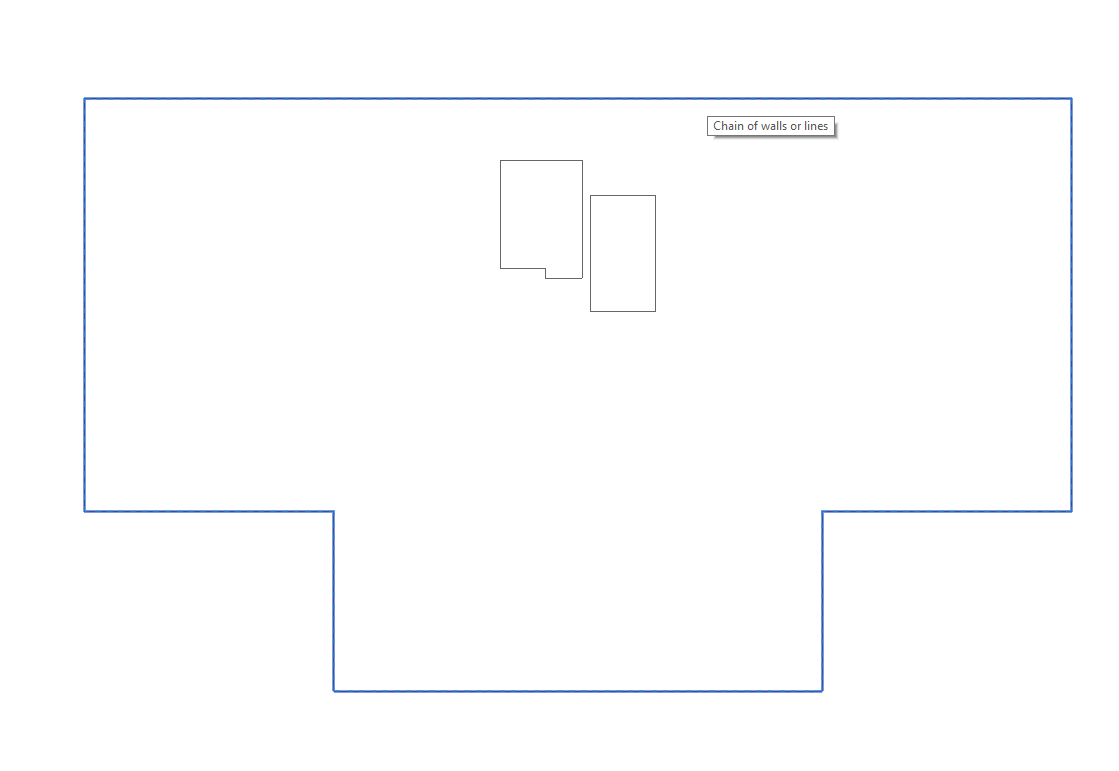
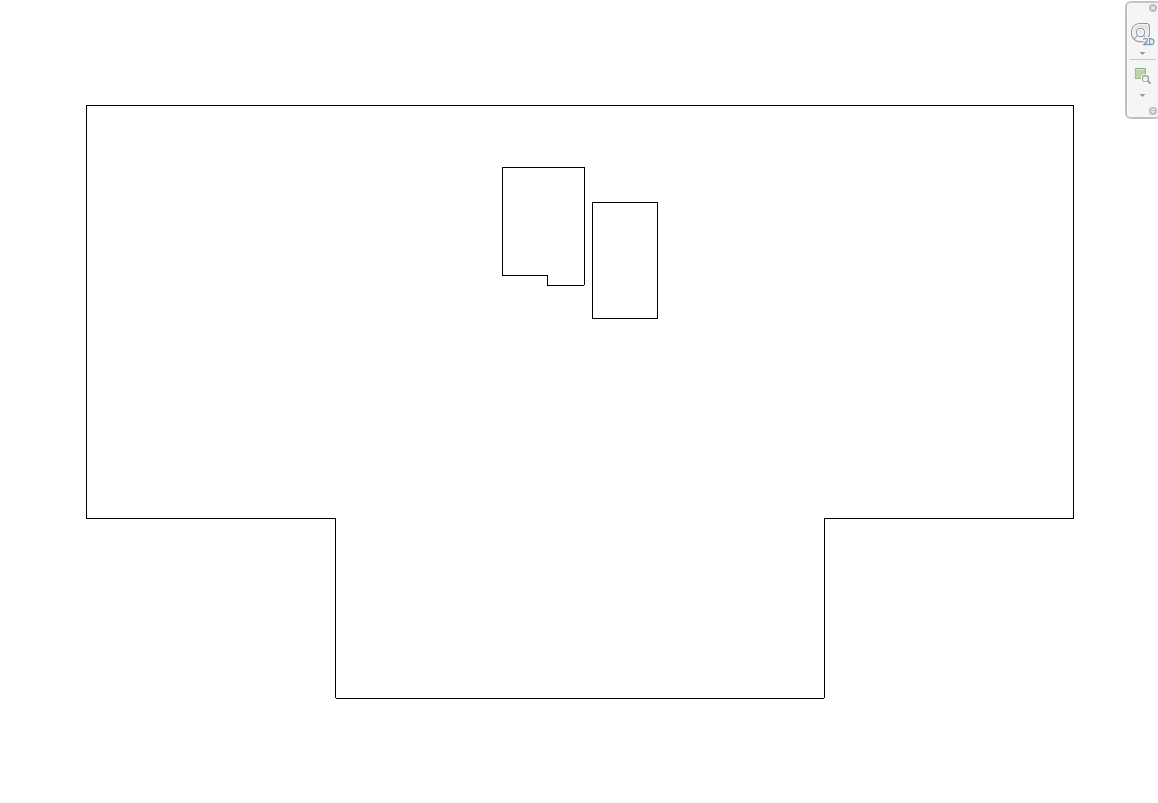
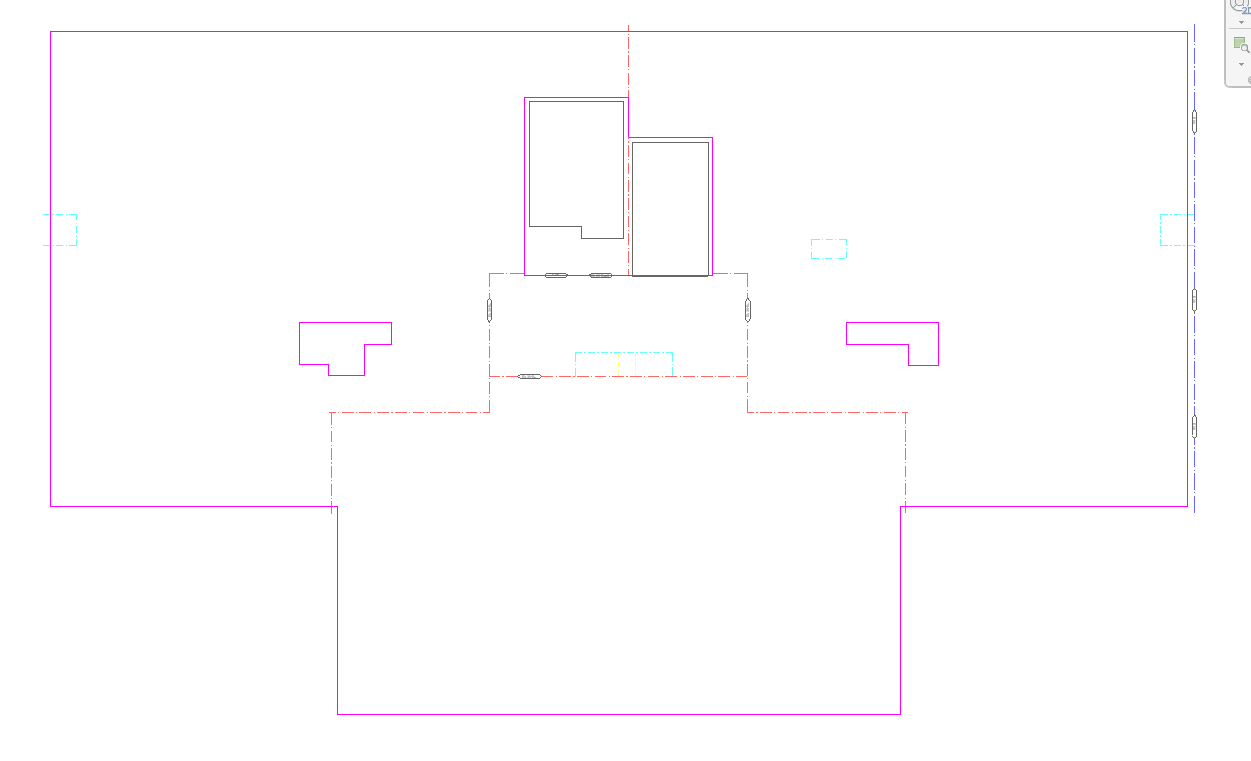
6. Hover above an exterior line of the floor, press the tab key until all lines are pre-selected and select.
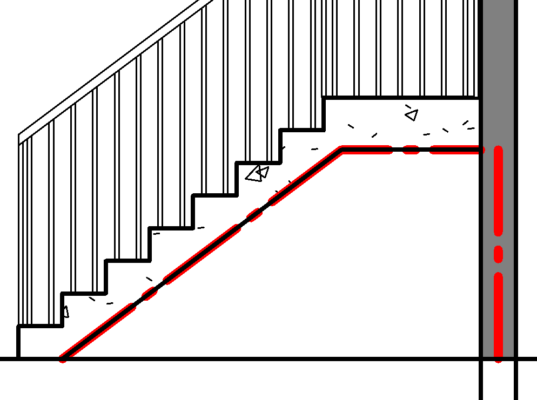
Find all wall compartmentation around the opening and draw a rectangle around them
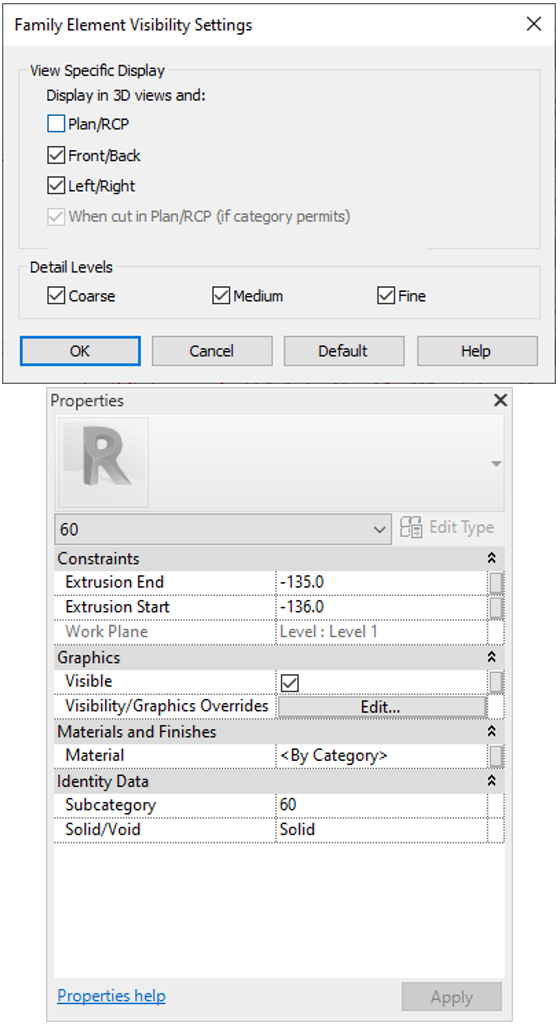
7. In properties, change Extrusion End / Extrusion Start, Subcategory and turn off in Visilibity/Graphic override that the geometry does not show in Plan view.
Start / End point should be in the middle of the floor,
in this example is the floor 270mm thick, so Start = -136 and End= -135, so it is 1 mm thick.

8. Finish the Extrusion and Finish the Model-In-Place.