Start-up project with BFT

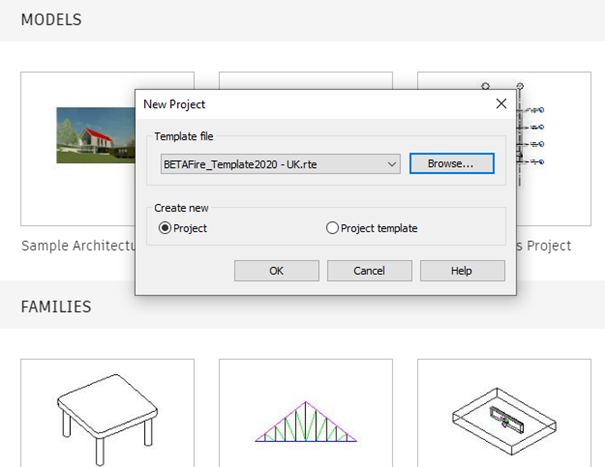
Start a project with a selected template
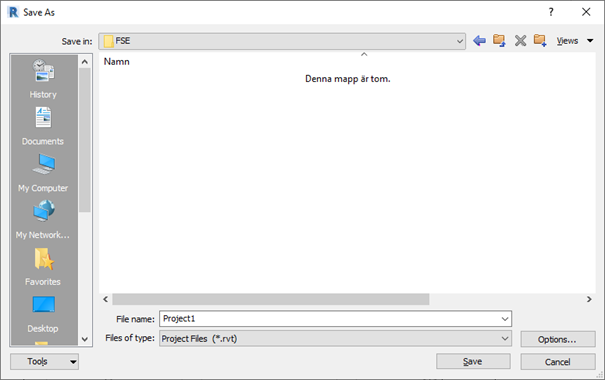
Save the project in the project folder.

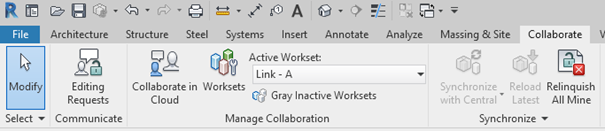
Enables worksharing in the project, Go to Collaborate → Collaborate
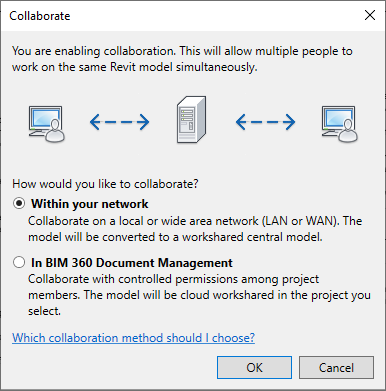
Select Within your network.
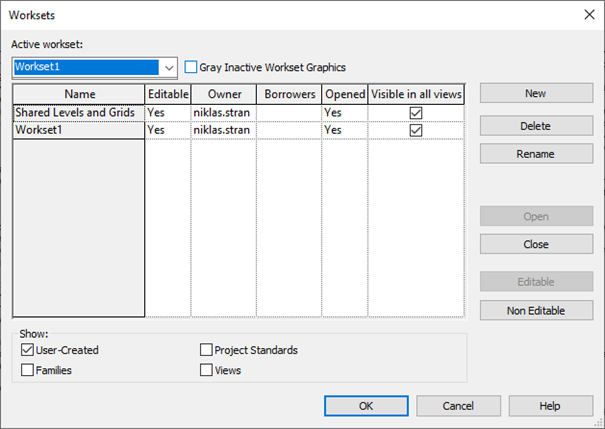
Add more workset if necessary, follow company standard.
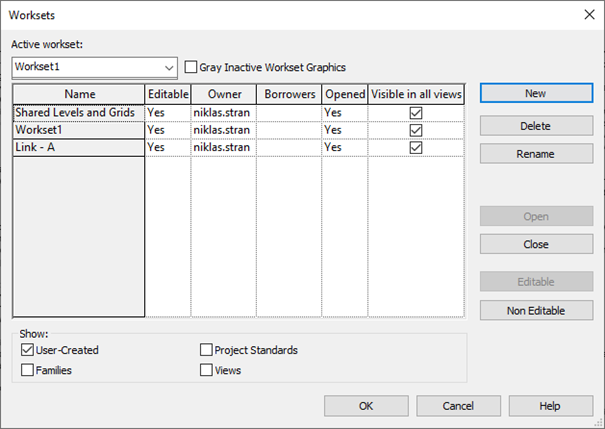
It’s recommend to have a third workset, Link – A.
If there are local differences follow those codes.
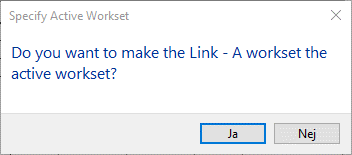
Make the new workset the active workset when closing “Workset dialogue box”
Save the file, up to the left side of Revit
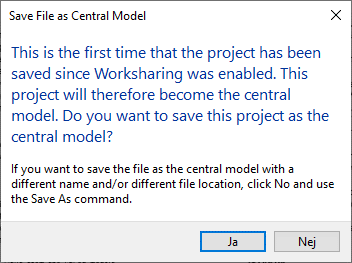
Select Yes when prompted with the question of making a central model.
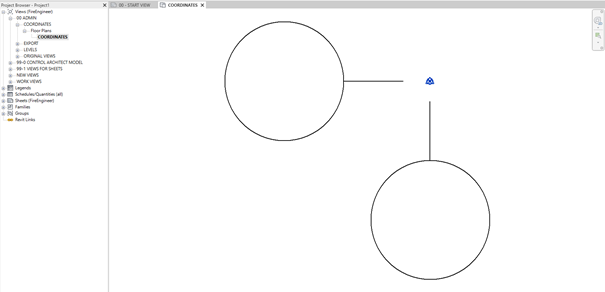
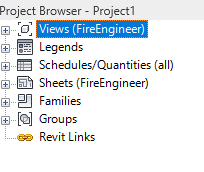
Open a Model view, this means a Floor plan, 3D view, Section etc
In this example a coordination view will be used.
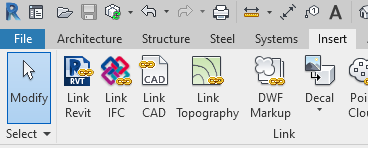
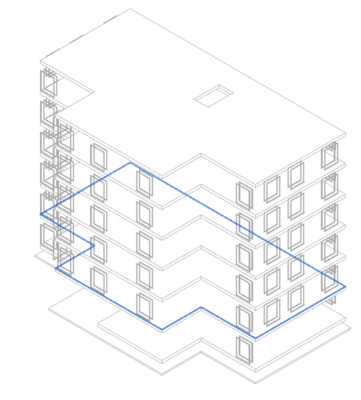
Go the insert tab → Link Revit..
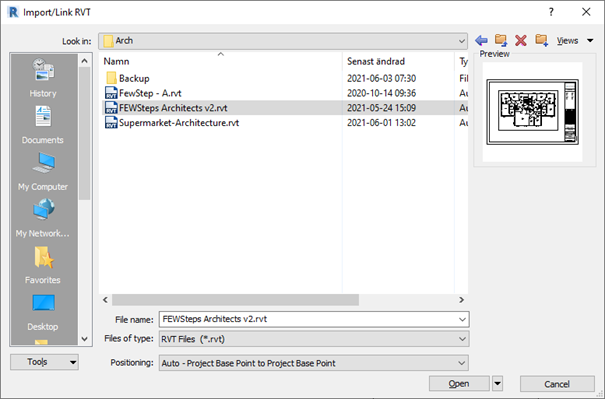
Select the architect model. Change Positioning to:
“Auto – Project Base Point to Project Base Point”
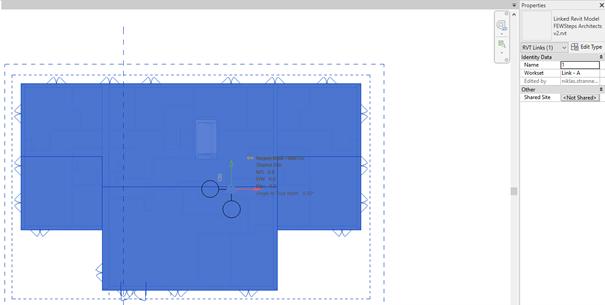
Select the link in the view, go to type properties.
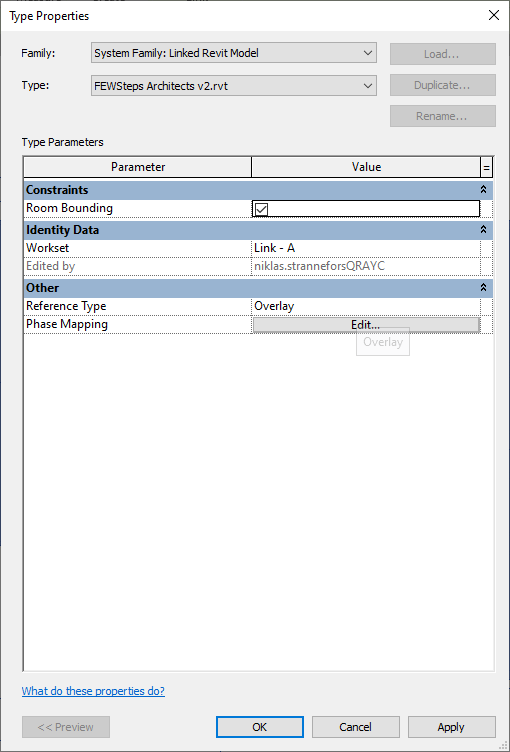
In Type Properties, make the link Room Bounding.
This enables spaces to be able to be used.
Due to the fact the links walls will behave like walls inside the FSE model.
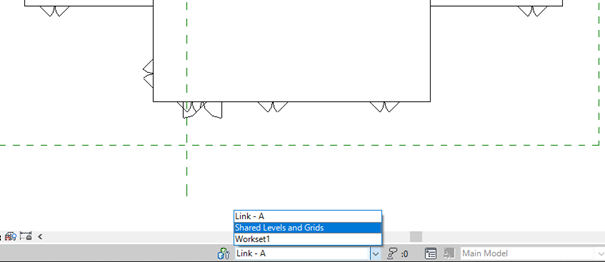
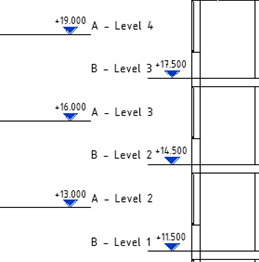
Change Workset from Link – A to Shared Levels and Grids
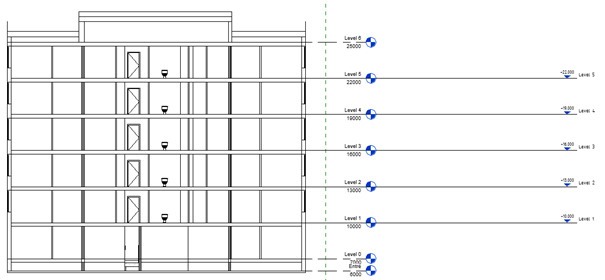
Either use existing elevations / section to fix levels or
create a section through the building.
If there is any levels in the template,
try to move them to the correct elevation of the architect model.
If the building has a more complicated structure, it is easier to copy/monitor the levels from the architect model.
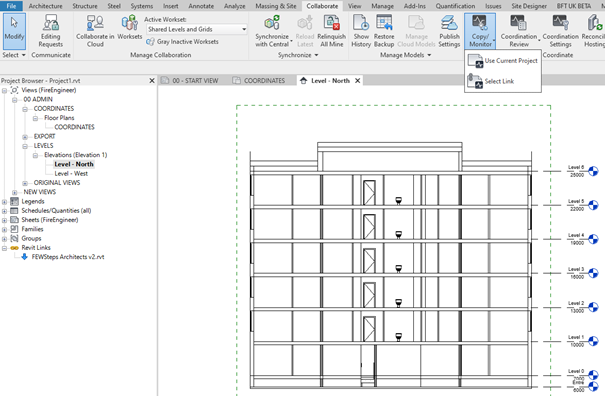
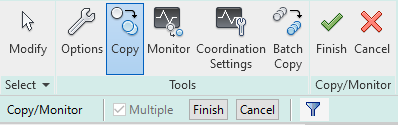
Go to the Collaborate tab → Copy/Monitor → Select link
Select which link to copy from

Select copy
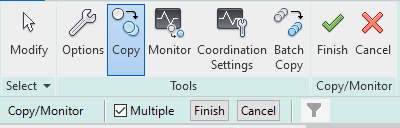
Mark Multiple
If using selection box left to right, so all elements touched by the rectangle will be selected, filter the selection. By using the funnel to the right of the cancel button in Option Bar.
Read more about selection here.
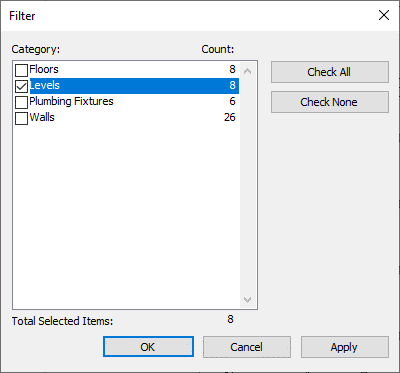
Mark only levels and finish selection with ok
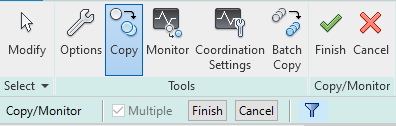
Press Finish on the bottom button next to Multiple found in the option bar.

All copied levels have been selected, press Escape once and Finish Copy/Monitor
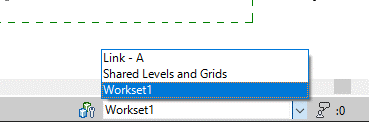
Change the workset from Shared levels and Grids to Workset1
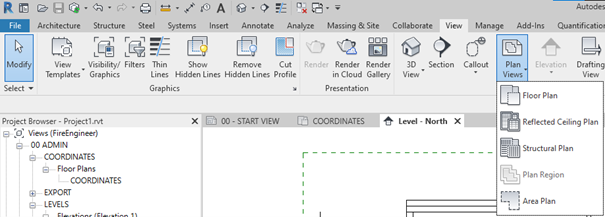
Create Floor plans. These will be saved as original views.
These views will not be used due to the risk of accidently renaming the levels when renaming the views.
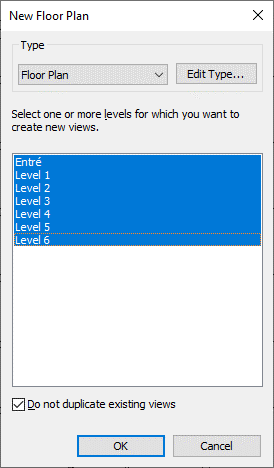
Select all
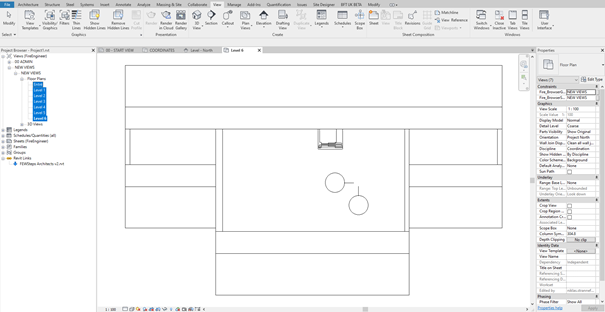
Select all views under “New Views → New Views”.
In properties, connect the template “Fire_OriginalViews” (or similar in custom template)
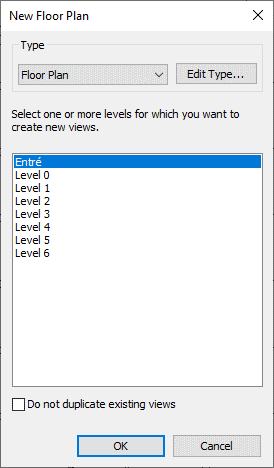
Go back to Views → Floor plans and unmark the “Do not duplicate existing views”. Create a new set of views for Views for sheets.
Repeat as many times as needed.

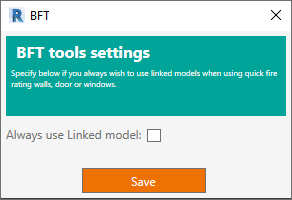
Go to BFT tab, open Settings NOTE: Removed in summer release August 2021 version 1.1.0
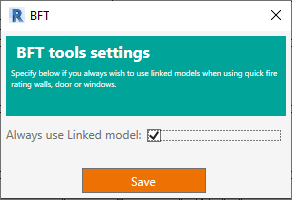
Mark the “always use linked model”, this needs to be enabled once for each project.
NOTE: Removed in summer release August 2021 version 1.1.0
.